Hi Pixboomers!
More testings from my kitchen in Sweden  I hope you find it useful. Camera settings and details at the end of the clip.
I am posting this to keep expectations at a realistic level, based on real-world experience from backer #124.
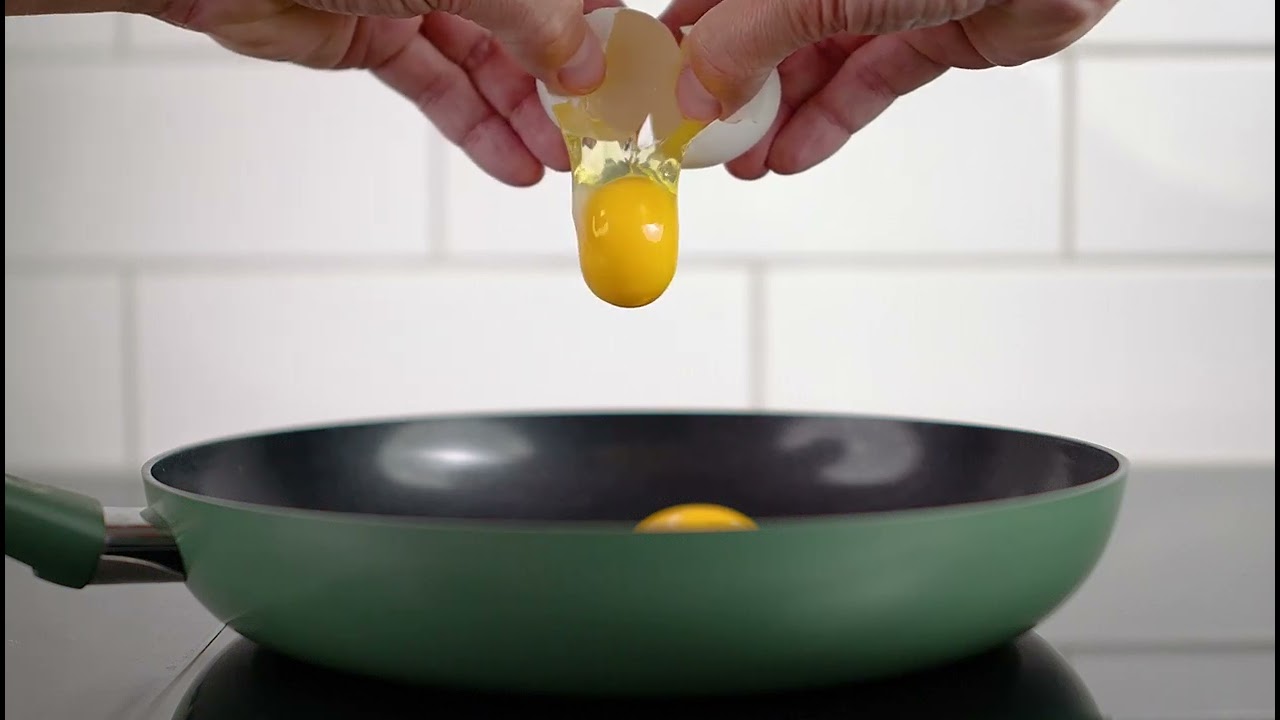
ALSO: Do not judge the YouTube clip above. Watched it on your iPhone? Temporarily bad internet connection? YouTube gave you 720p instead of 4K?? Just making sure! Download the ProRes clip instead, link below.
Learnings about the Pixboom Spark, after 48 hours:
-
Nailing exposure is critical, it’s your best friend. Do not underexpose or overexpose, check your waveform before shooting. You need to be more thorough with this camera than with your other cameras.
-
Keep it at ISO 400 if possible.
-
STRONG LED-lights are needed if you wanna do indoor/studio stuff. We’re talking 600-1200 W. Several of them.
-
File sizes are HUGE!!! You need to have X amount of terabytes available on your computer. I had 2+ SSD internal TB available on my Mac Studio (with a total 8 TB available). I ran out. I deleted the stuff from the Spark I wasn’t gonna use. Still, I am 2 TB down. Just for test clips!
-
Exporting the clips in the native/‘as shot’ setting to ProRes 422 LT in the Pixboom Cine software is the best way to go. You can try HQ, but honestly I do not think it’s necessary.
-
Do your color adjusments, grading, denoising and sharpening to the ProRes clips in whatever software you use.
I am going to use this camera in lots of different scenarios. I will share in this forum when I have something new to show. Outside on a sunny day will be the easiest. But, I’m looking at the best deals on how to get as much light as possible, with acceptable CRI/TLCI numbers for light quality, for the cheapest possible price. And by ‘cheap’, I have realised that I am looking at around a 5,000 dollar price tag, haha… 2 x 600W or 1 x 1200W LED lights.
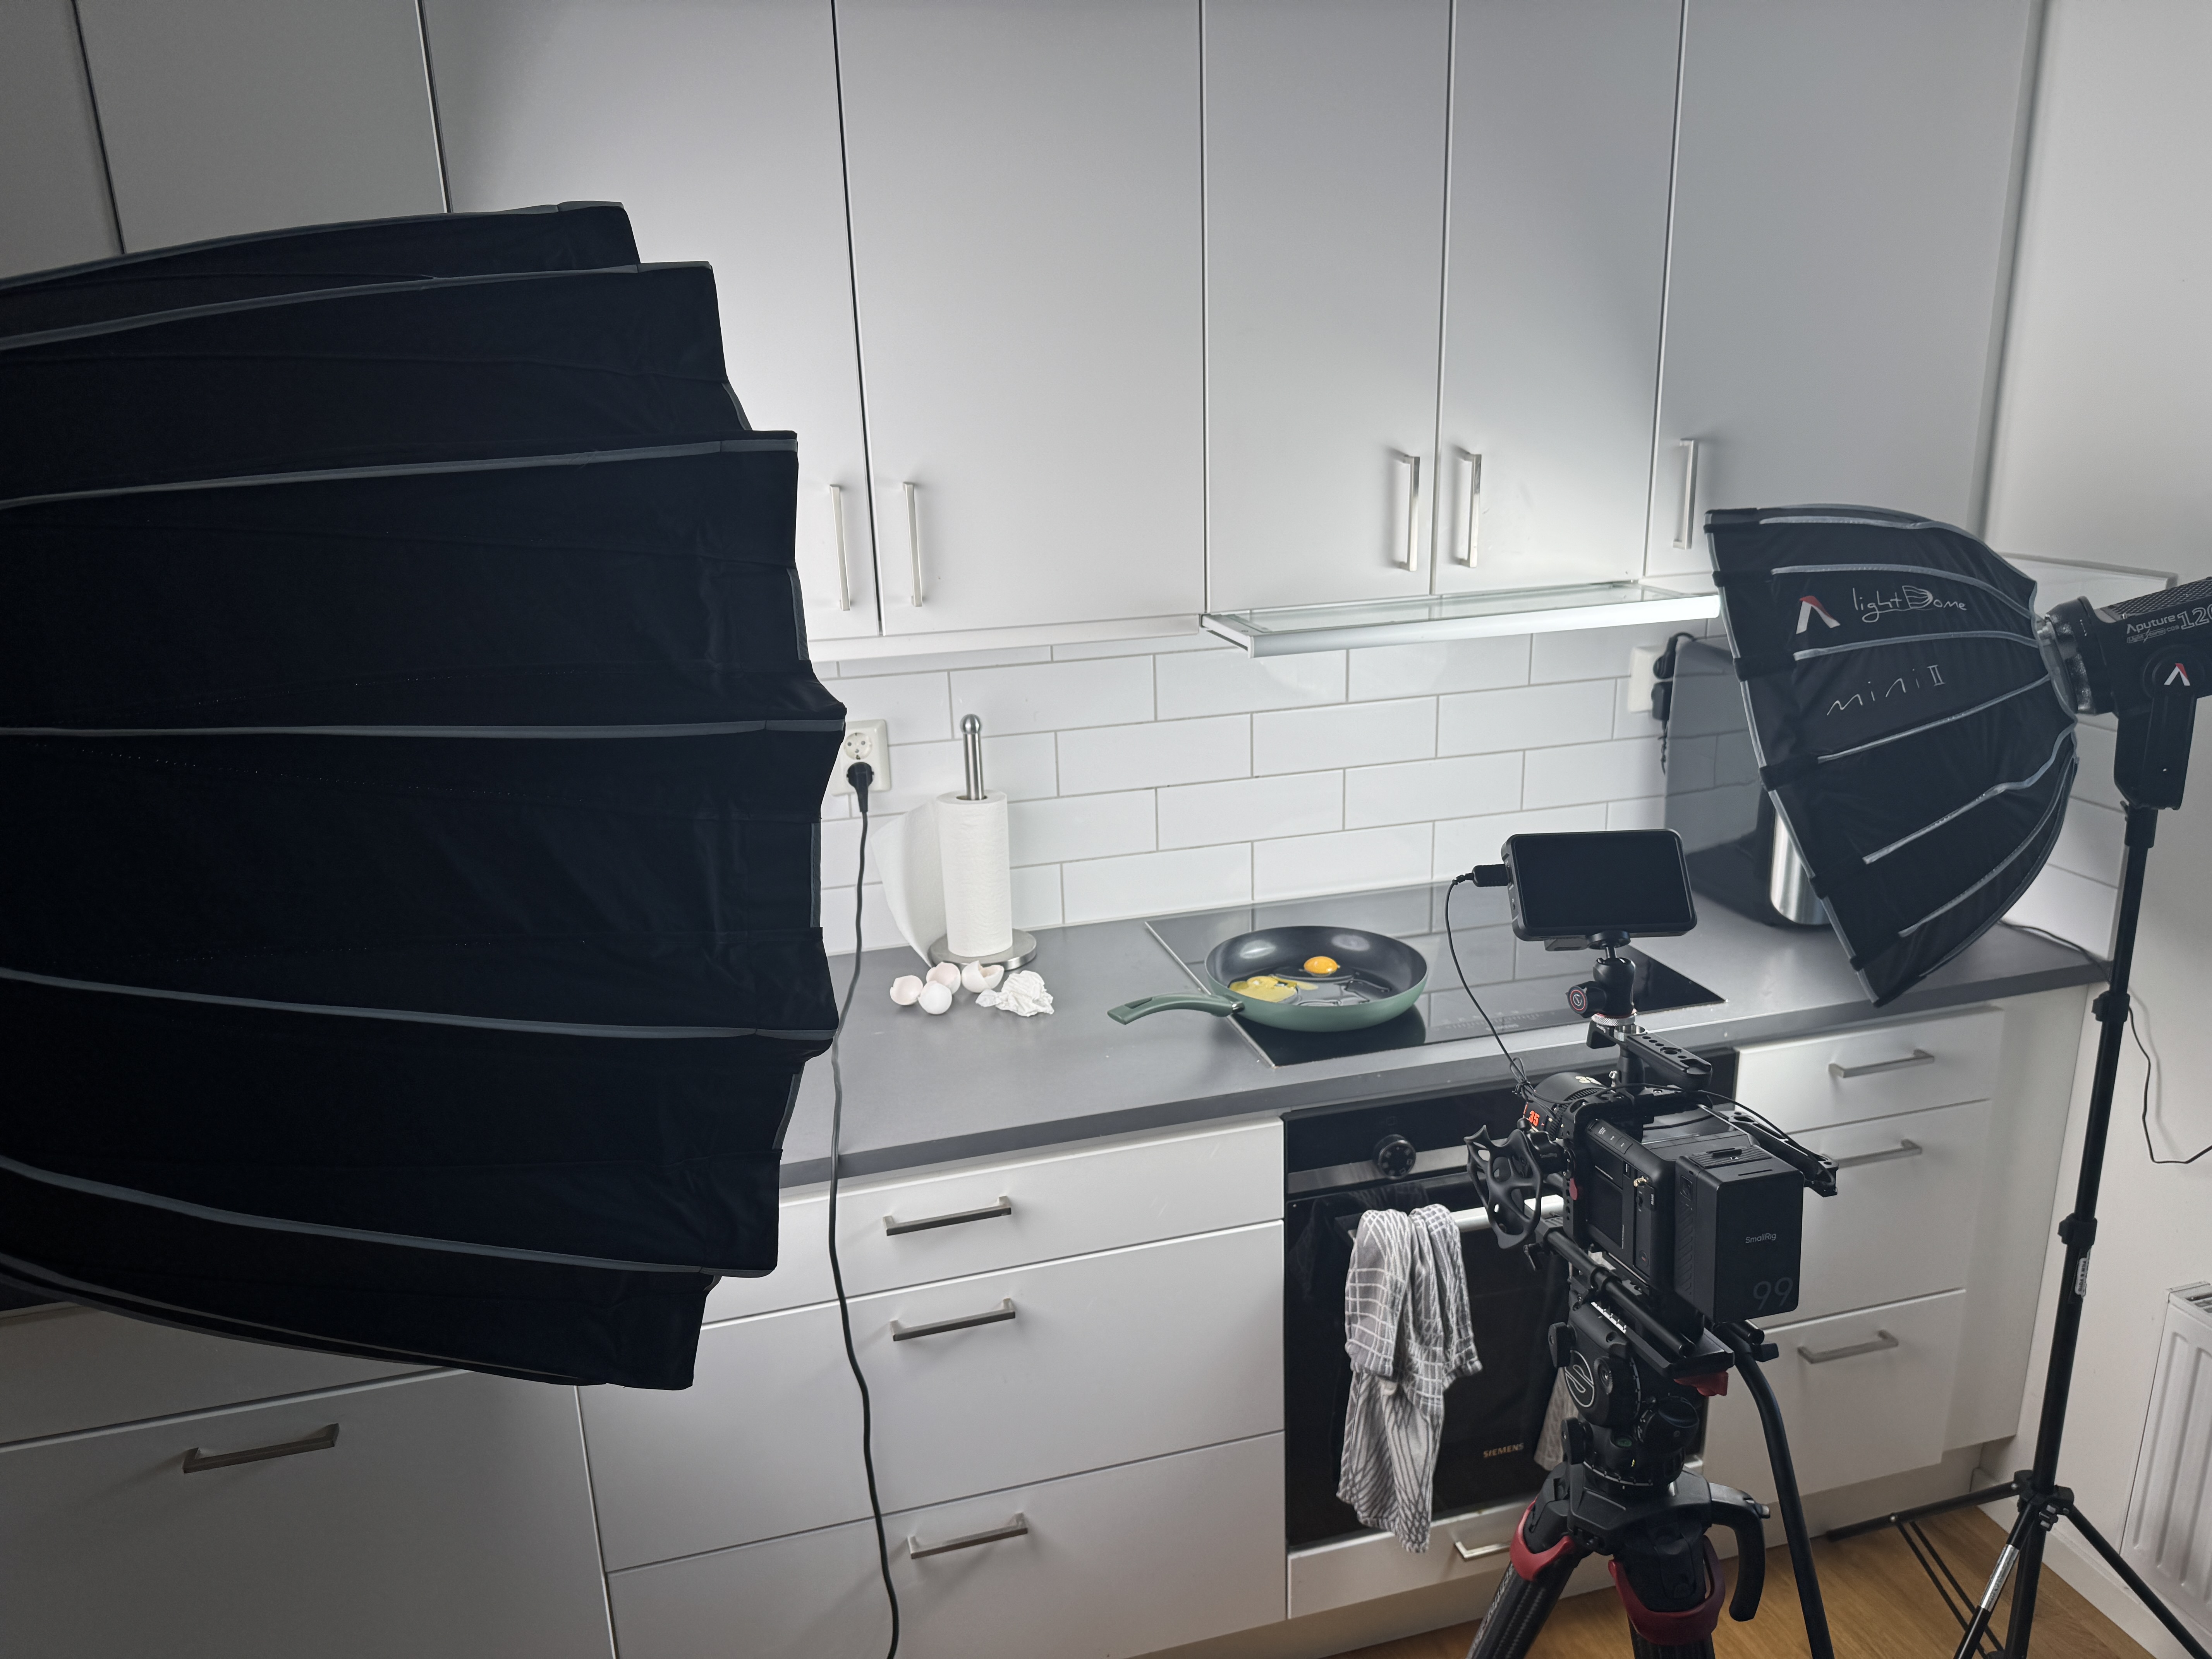
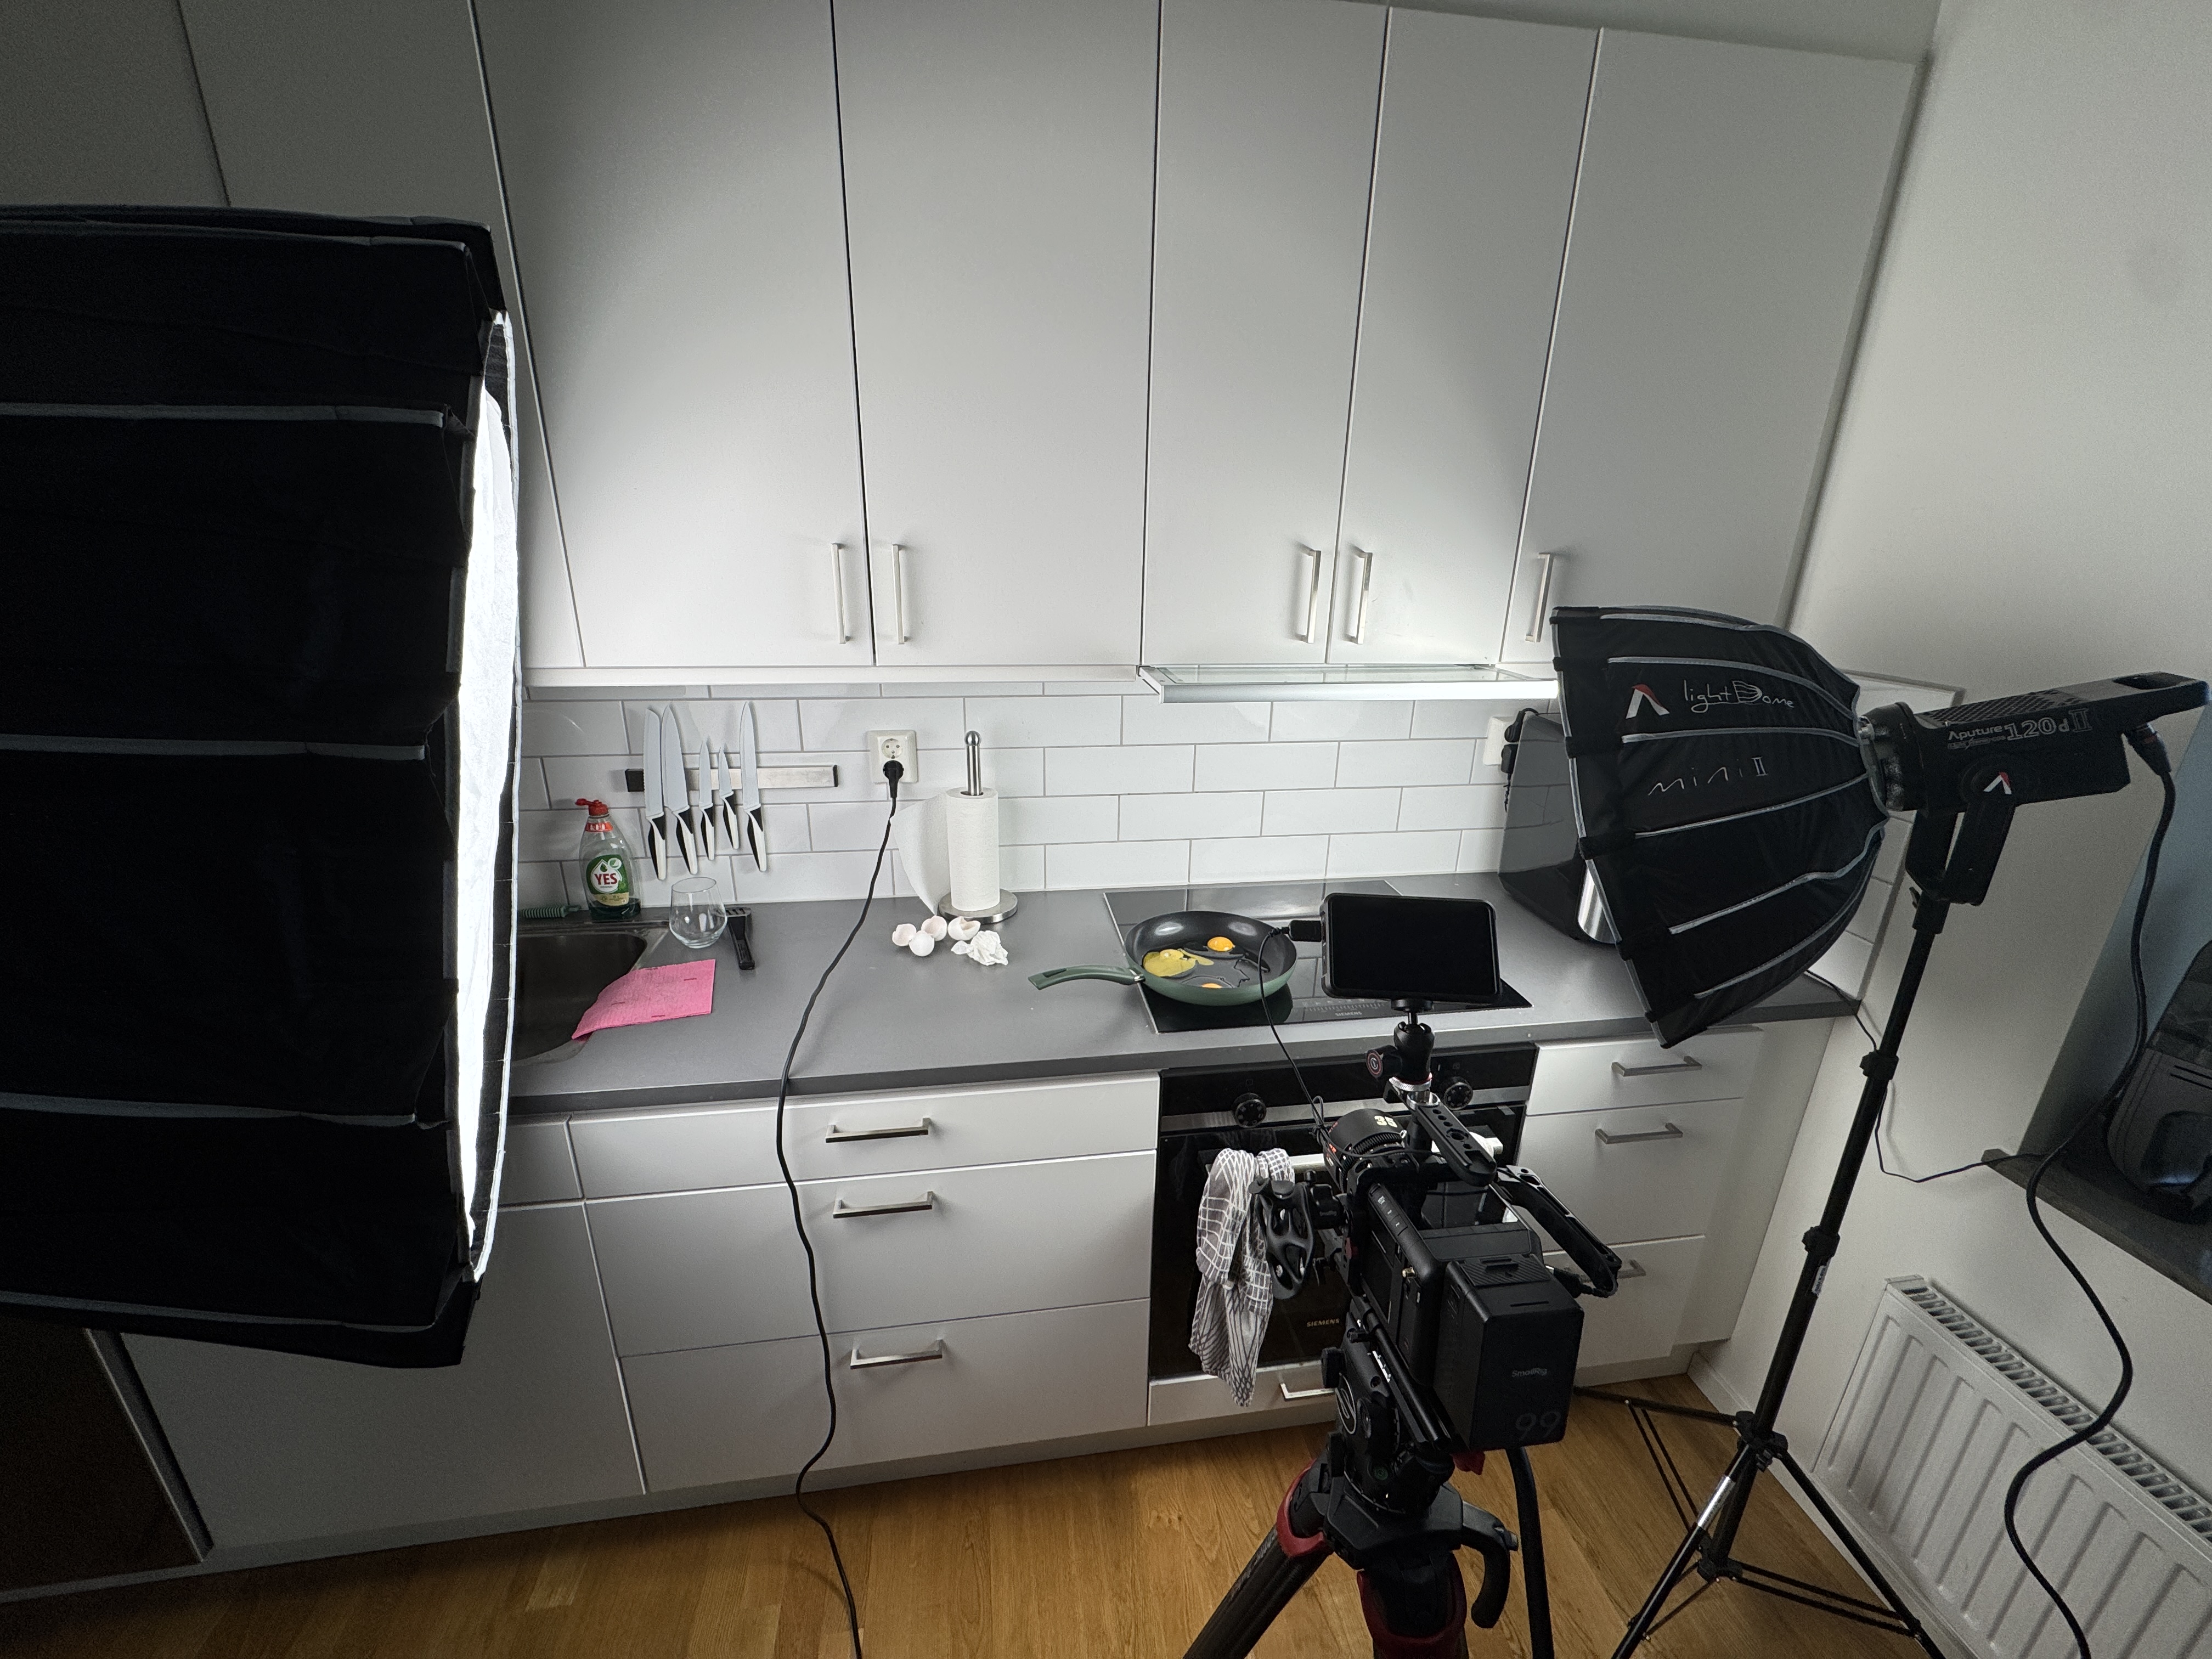
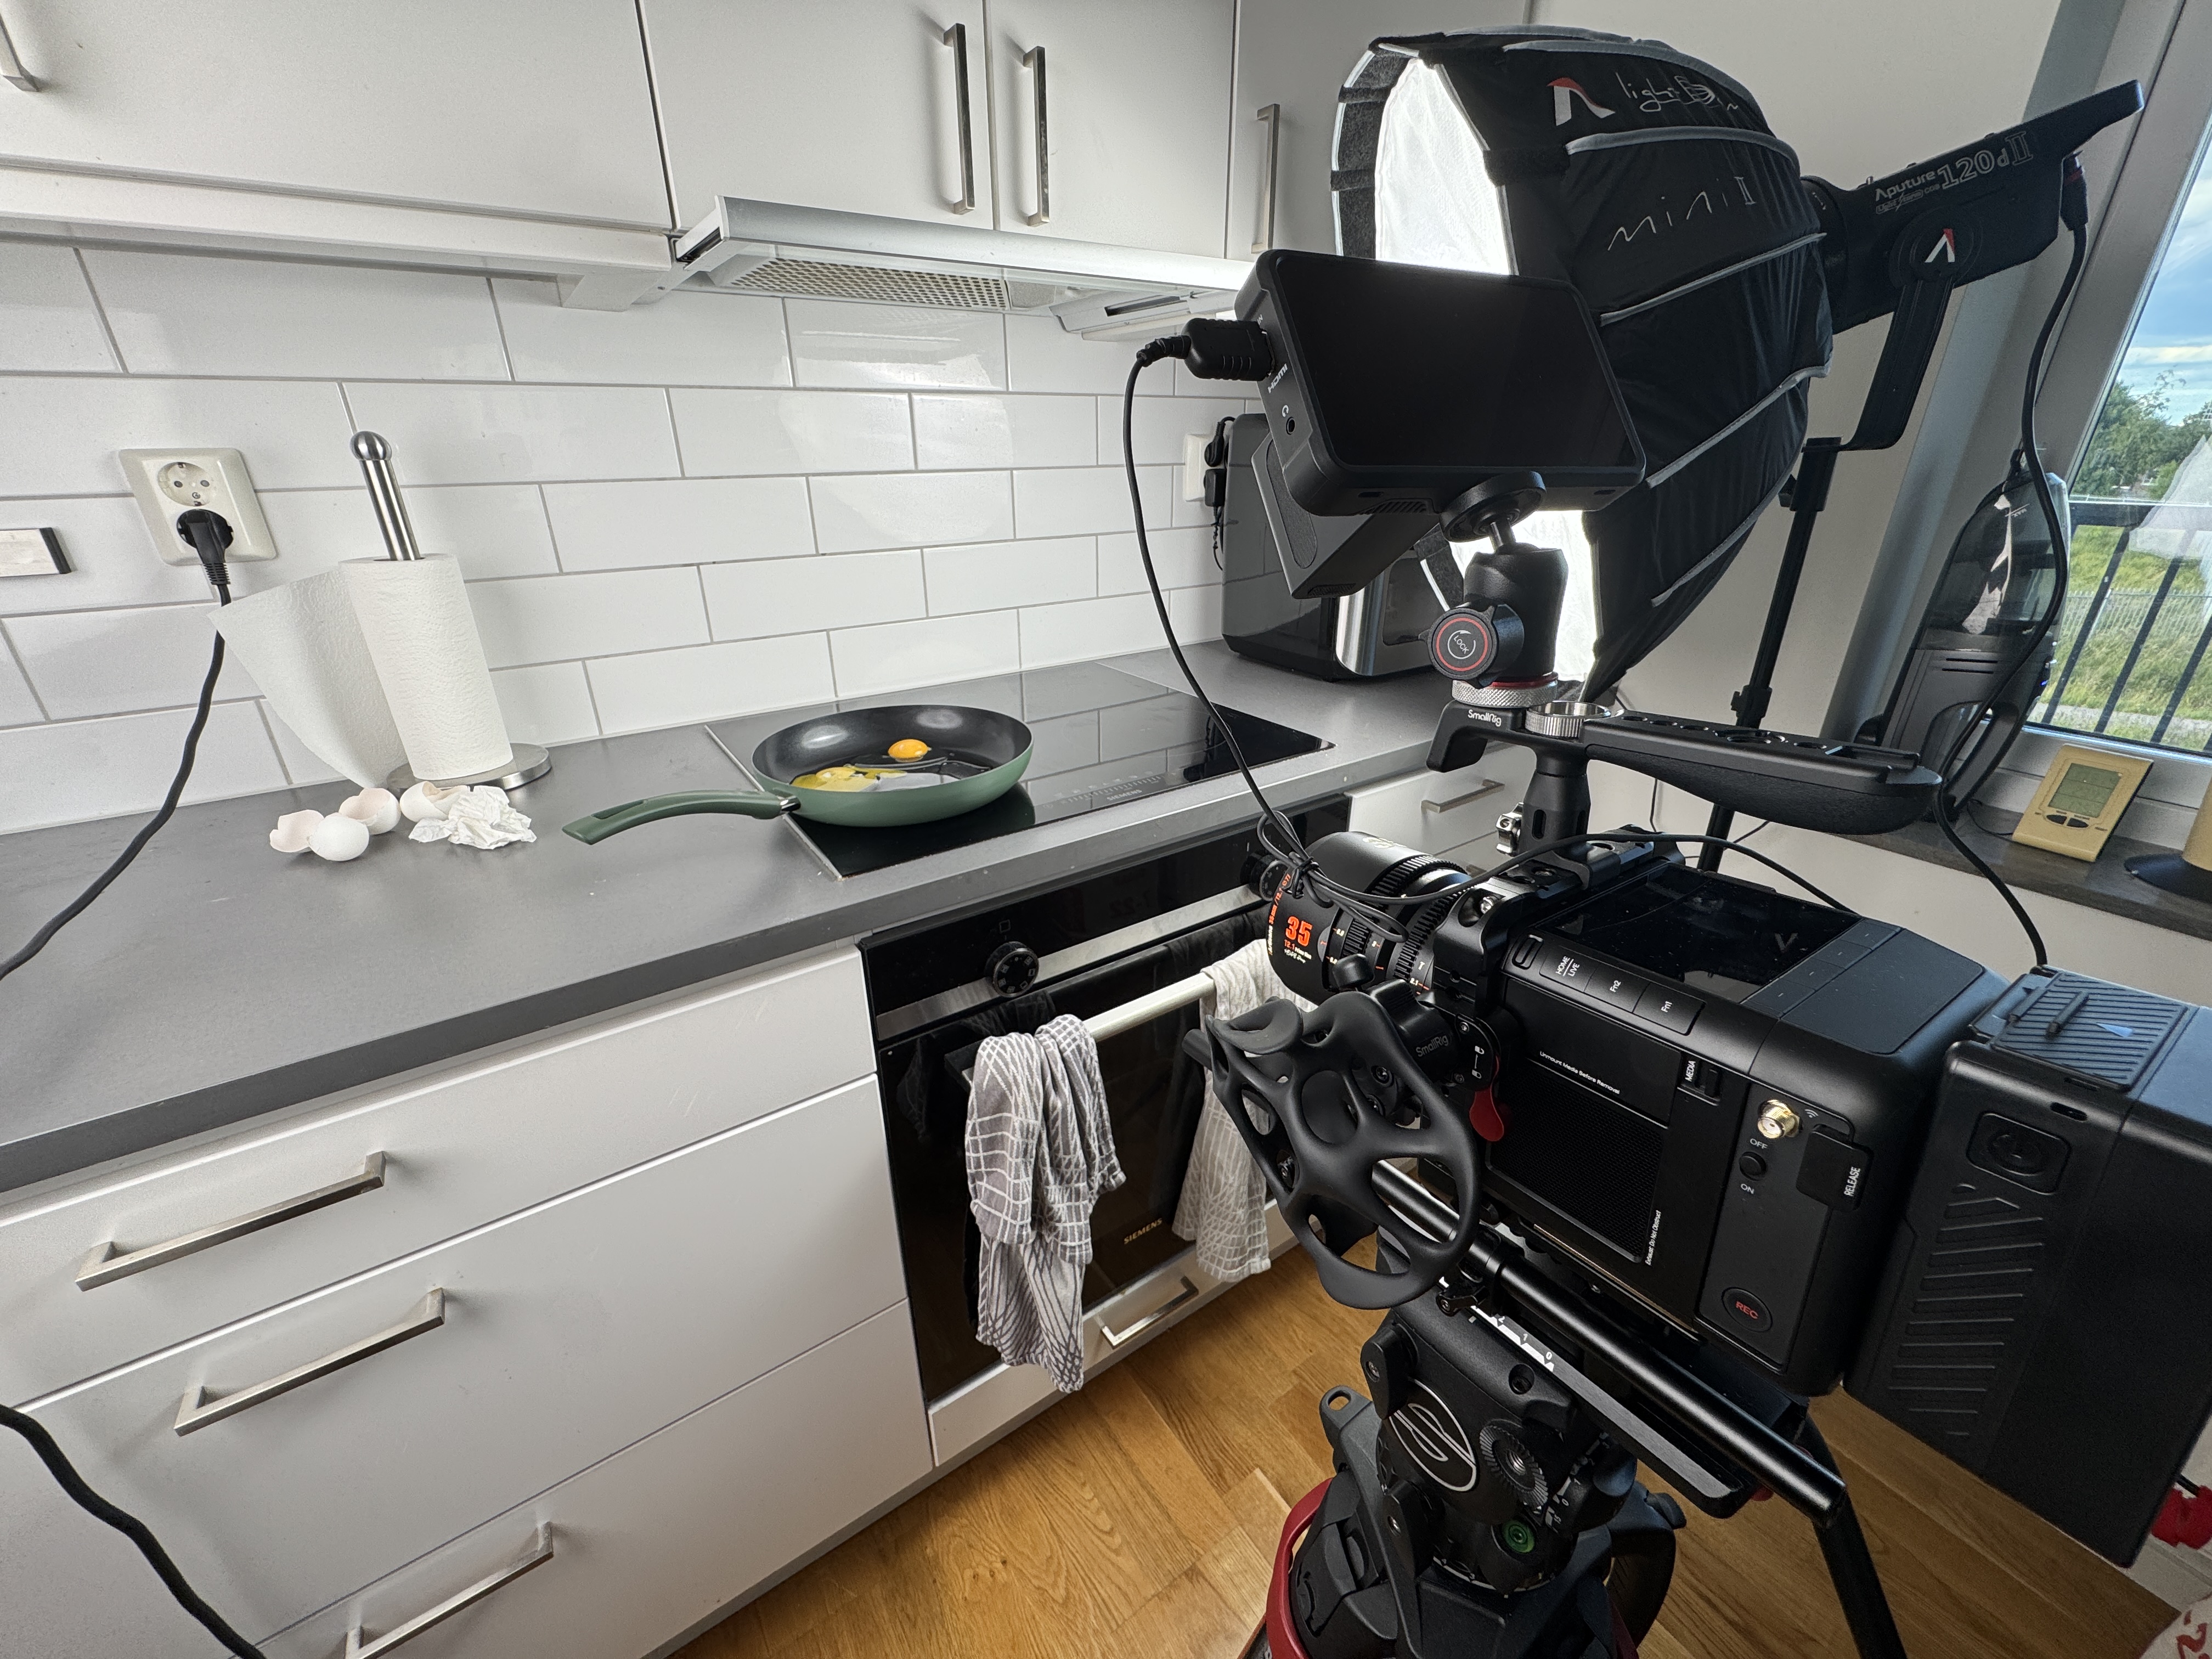
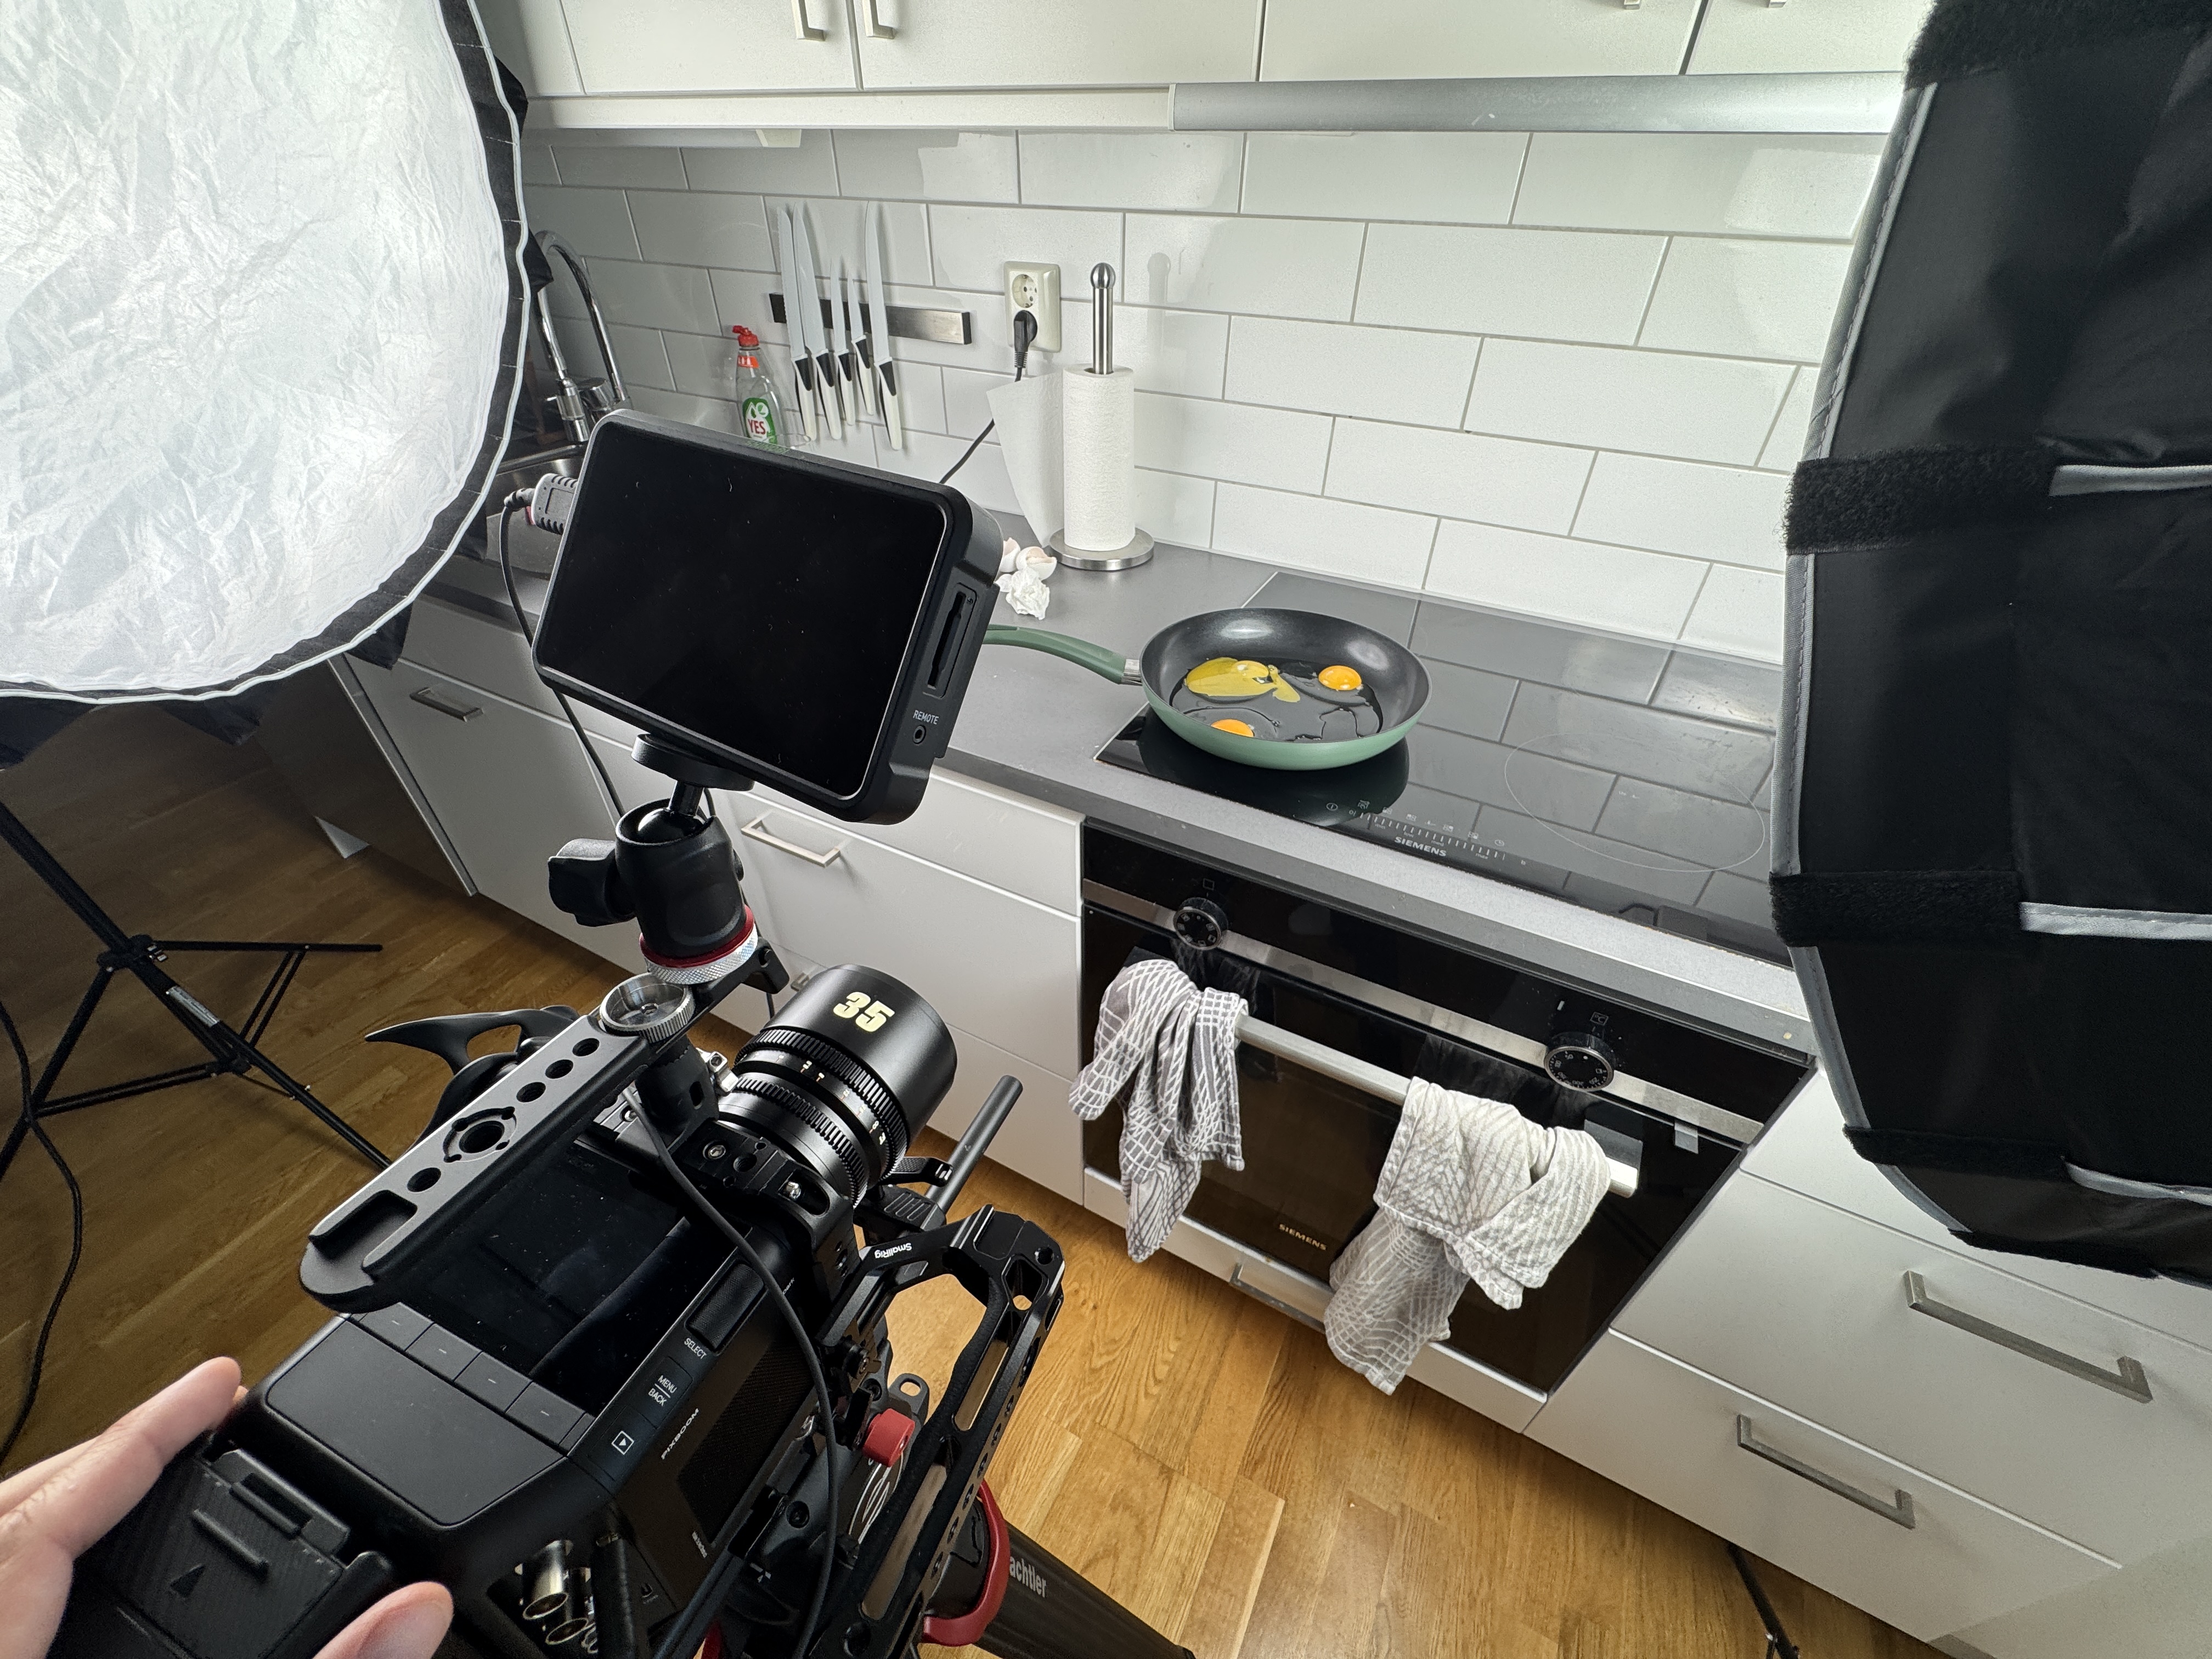
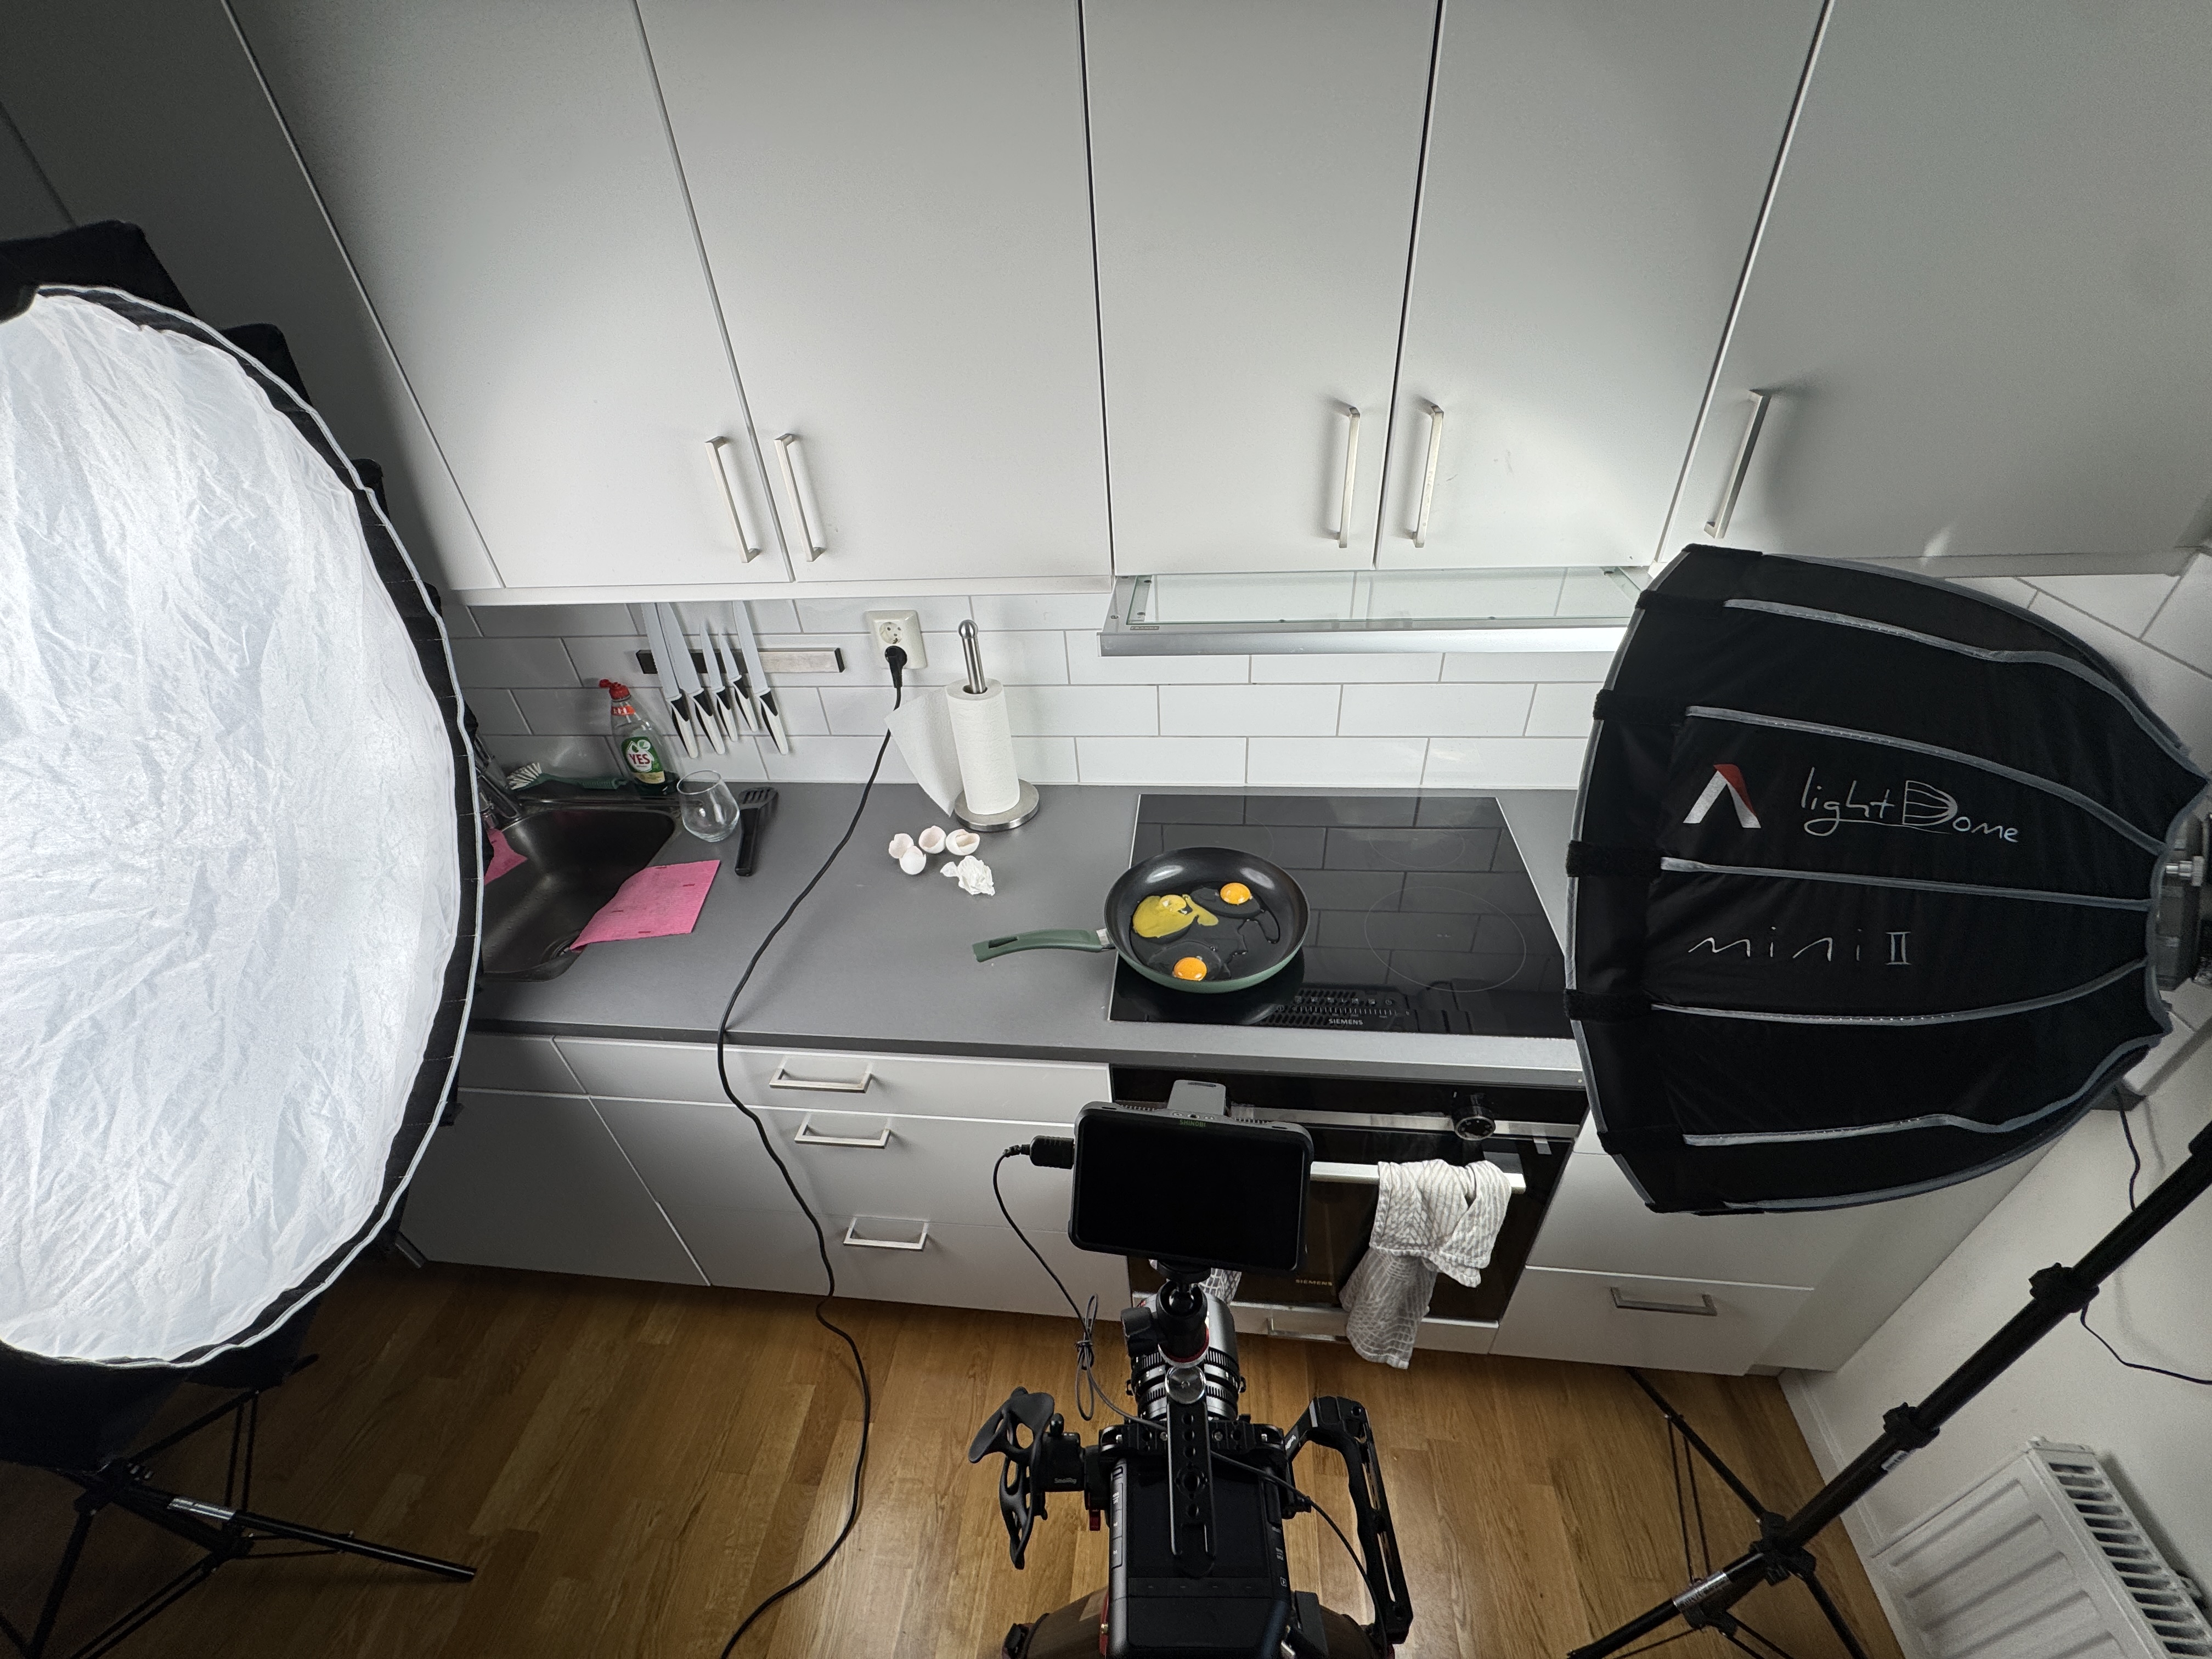
I already have 2x120W and 2x300W LED lights from Aputure. Those lights, with diffusion, only work if you put them really, really close to what you’re shooting, and you have a pretty fast lens so that you can shoot at around f2 at ISO 400. That’s how much light you need! (see attached BTS pics below)
Here is a WeTransfer link if you want to download the ProRes 422 LT version of the edited clip above. The two original files are over 100 GB in total, and I tried to be really quick from hitting record to breaking the egg to stop recording. I can share those upon request, but it’s really, really large file sizes.
https://we.tl/t-BJCypydWU2DA3yTL
Sharing some learnings based on life experience:
Overall, this camera reminds me of a Hasselblad (2015-ish) or RED camera, if you have any experience with those. But, MUCH, MUCH better!
Let me explain…
Operating this camera requires that a lot of things (and COSTS) around it are in place, if you want to get the most out of it. But, IF you have all the requirements in place, you get rewarded with the best possible quality in that specific area of photography/videography. But, it does not come quick, easy or cheap!
This is just based on my own experience from 25+ years, but I’m thinking that maybe this is useful to someone with less experience and ‘too high hopes’ with the Spark.
Because, that was me, when I bought my first Hasselblad in 2015 for a crapload of money… The disappointment was beyond words, because I did not know what I was getting myself into, having to spend tons of money on stuff AROUND the camera itself to be able to work with it!
I learned the hard way that high-end cameras require a high-end operator. The Pixboom Spark is a high-end slow motion camera, 100%! And it requires a high-end operator to get the most out of it. So do not blame the camera, if you get bad results at your first try with this camera, because it is more demanding than any Canon, Sony or Nikon camera you have ever used.
You need to understand this. Otherwise, you will become ‘that guy’, posting lots of crap in forums based on your disappointment, when the real problem is that YOU did not do you research properly, and that it involves A LOT of money from your end. (and Yes, I was that guy, 10+ years ago…)